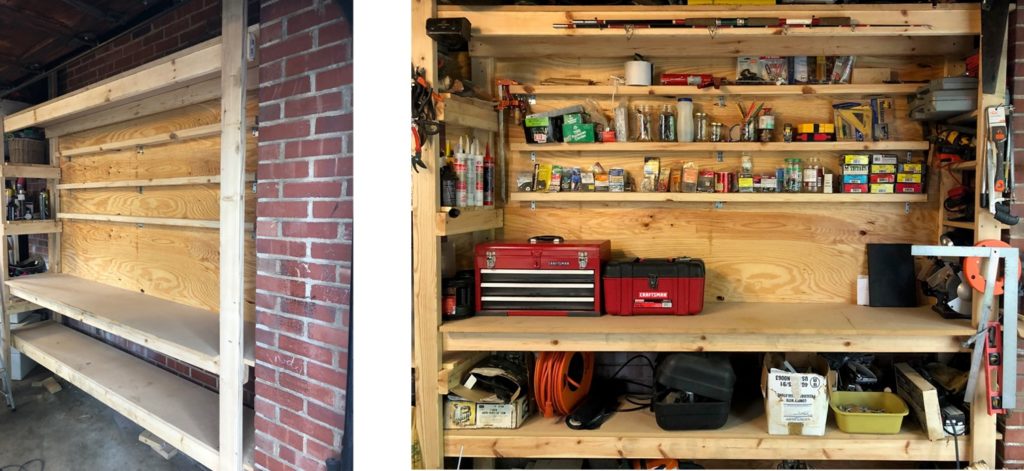
A good workbench uses space efficiently. Let’s you see everything. Put every item in reach. Uses different size storage for different size tools and materials.
A workbench turns an unfinished space into a workshop. A garage corner into a DIYers man cave.
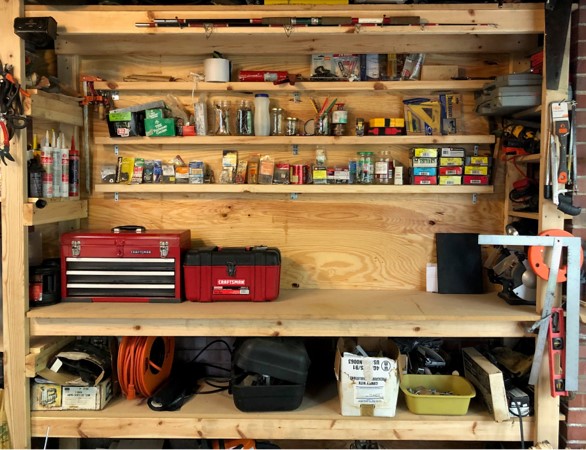
It displays every tool in the tool kit. It’s organized. It’s there when you need it. It’s easy to find. More time doing, less time finding.
That’s why you’re here. To build an awesome workbench that’s cheap and easy to build.
Let’s get after it.
Site
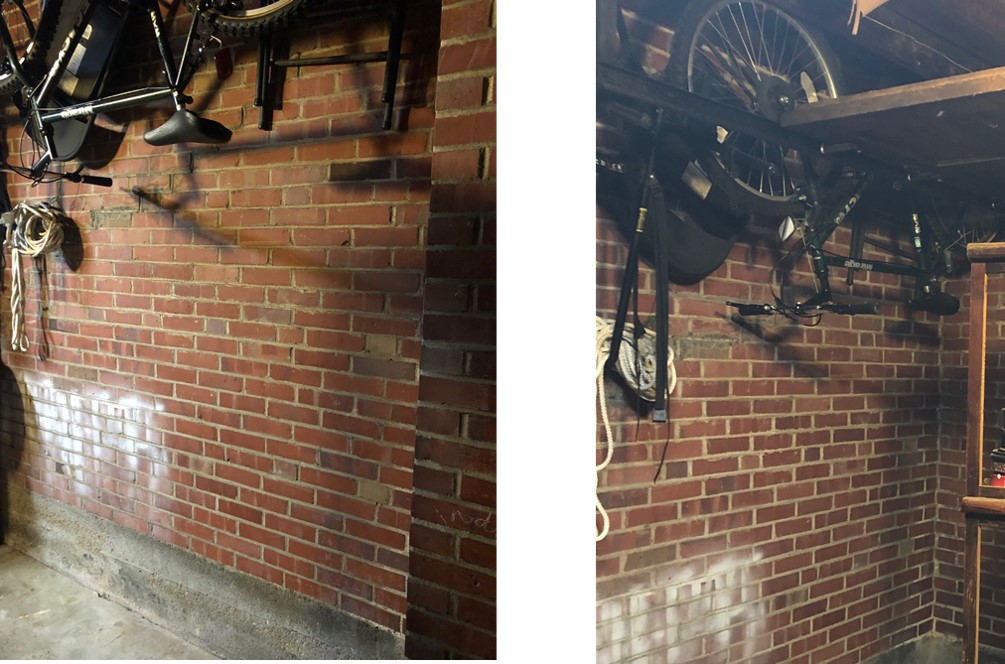
Best location is a garage or an unfinished part of the basement. Easy to clean, enough space to move around. The corner of this garage had an empty brick wall with plenty of space to work with
Framing and Plywood
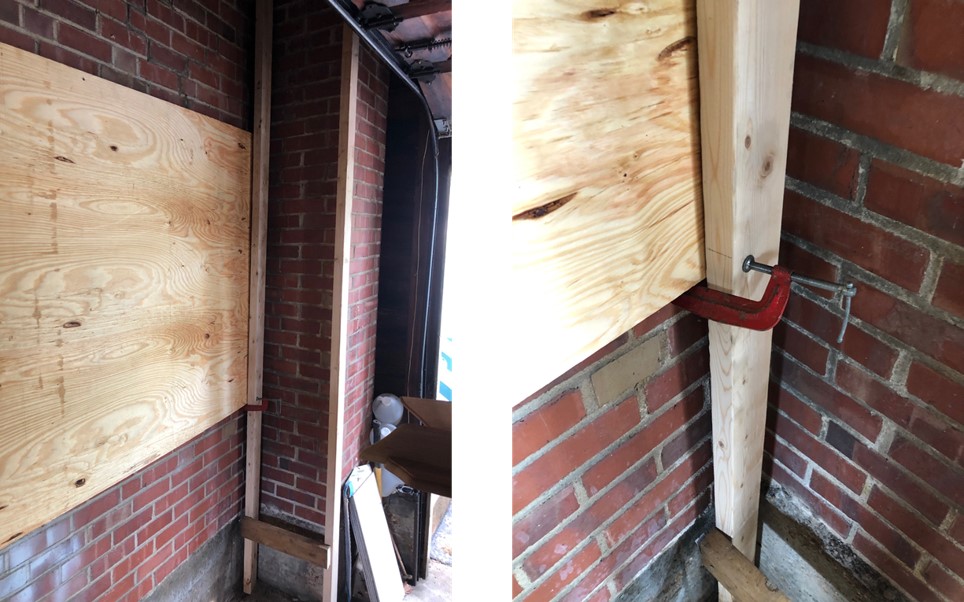
There are four framing 2x4s, one at each corner. Position them 18” apart front to back, 90” apart side to side, and at least 90” in height. Use clamps to hold 4’ by 8’ plywood in place behind rear 2x4
Bench Support and Shelving
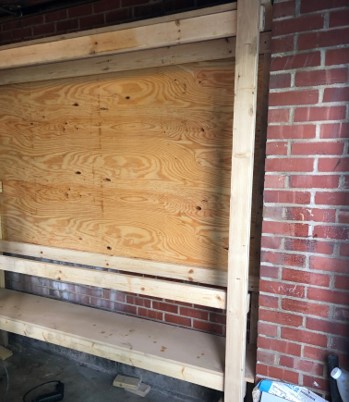
Run 3 sets of two 90” 2x4s parallel and level. These will support the bench and shelving. Bottom shelf is 21” from the floor. Work bench is 36” from the floor, and top shelf is 90” from the floor. MDF is an outstanding cost effective alternative to plywood for shelving and bench, and provides smooth surface
Small Materials Storage
Run three 2x4s parallel the span of your bench and secure with a 90 degree metal angle connection
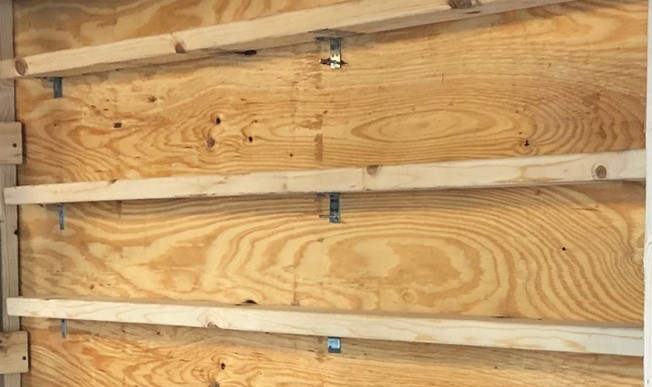
That’s it, your finished!

Now the fun part. Take all those stray boxes of nails, screws, and tools and find them a forever home.
Check out other DIY projects on our home page The DIY Journal's Top Projects
